Introduction
Billing Profiles enable you to save codes or groups of codes to be populated with a single click when the profile is selected. Billing Profiles allow you to use a combination of ICD-10, CPT, or any custom codes you've created in your account. It is possible to ensure that the correct codes are consistently applied. While scheduling an appointment, one can add as many or as few codes as per requirement and have easy access to the profiles. You can save time on billing by creating profiles, which will allow you to spend more time with the patient.
Accessing the Billing Profile
Click on Appointments from the settings menu.
Go to the sub menu Appointment Profile settings and click on the Billing Profile tab.
Click on +Billing Profile which is located on the top right corner of the screen as shown below.
Enter the Name of the billing profile in the Profile Name field as shown below.
Search for the ICD-10 code which is applied using the ICD-10 Code field as shown below. The code can also be searched by entering the description.
To delete the ICD-10 code, click on the Delete icon as shown below.
Enter the CPT Code using the CPT Code field as shown below. The code can also be searched by entering the description.
Enter the modifiers as shown below.
To point the ICD-10 to the CPT code, use ICD10 Dx Ptrs. use the index of the ICD-10 codes as shown below.
Here 3 ICD-10 codes are mapped to the 99201 CPT code.
The user can also add the quantity and price of the CPT code.
To delete the CPT code, click on the delete icon under the Actions column as shown below.
To add the NDC code for any particular CPT code, click on the +NDC button as shown below.
The user can enter the NDC code, under the Package Code column.
Quantity and Units can also be used as shown below.
To delete the NDC code, click on the delete icon under the Actions column as shown below.
To add a custom procedure, enter the custom code in Custom Procedure.
Click on the Save button, and your billing profile will be created successfully.
Edit Billing Profile
You can also edit the billing profile by clicking on the Edit icon under the Actions column as shown below.
Make the changes in the billing profile and click on the Update button.
Your billing profile will be updated successfully.
Delete a Billing Profile
You can also delete the billing profile by clicking on the Delete icon under the Actions column as shown below.
When you click on the Delete icon, the system will ask you for confirmation to delete the particular billing profile as shown below.
Click on Yes, delete it. Your billing profile is successfully deleted.
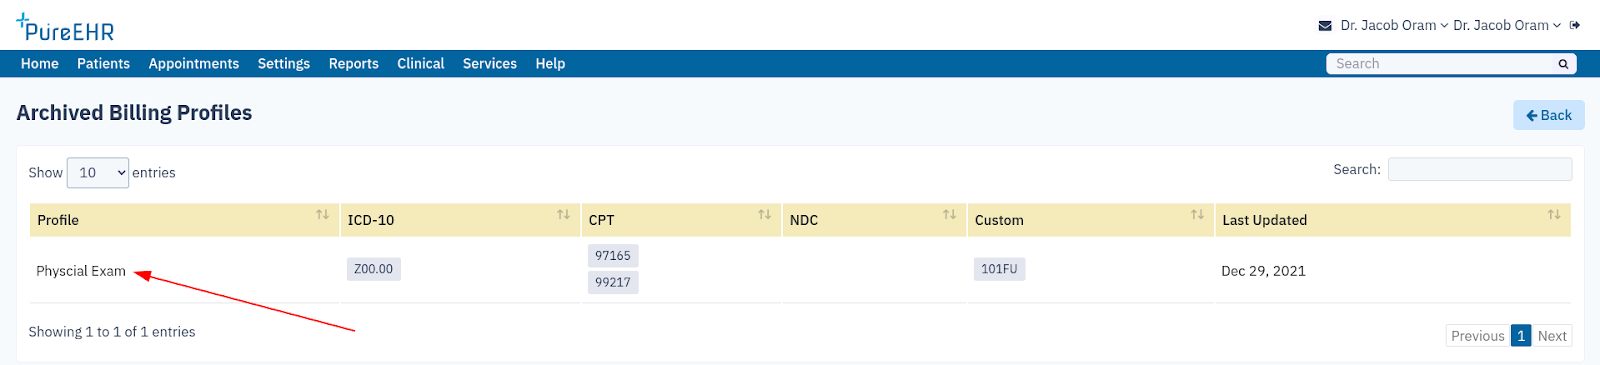
View Deleted Billing Profile
View all the deleted billing profiles by clicking on the Show Archived button below.
As shown below, clicking that button will take you to the deleted billing profile page, where you can view all of the deleted billing profiles.